Getting started with Private Locations
A Private Location is an additional location in Checkly. It acts exactly like any other location, but you run it on your own infrastructure. A Private Location can be used to run checks on your services which are not directly exposed to the public internet but in your own segregated network. To operate a Private Location you need to run at least one Checkly Agent.
Checkly checks are configured and scheduled in the Checkly web UI or using the CLI as usual, but selecting a Private Location runs the check on the agent(s) in your infrastructure. As long as you have at least one operational Checkly Agent, checks will run in your Private Location. Adding more agents will distribute the load and improve resilience automatically.
Requirements
Here are the requirements before you get started:
- A container runtime (we test using Docker, but other runtimes should work)
- Outbound internet access for the Agent to https://agent.checklyhq.com (proxy configuration is supported)
- Access to your internal API- or browser-based applications and services
Configuring a Private Location
-
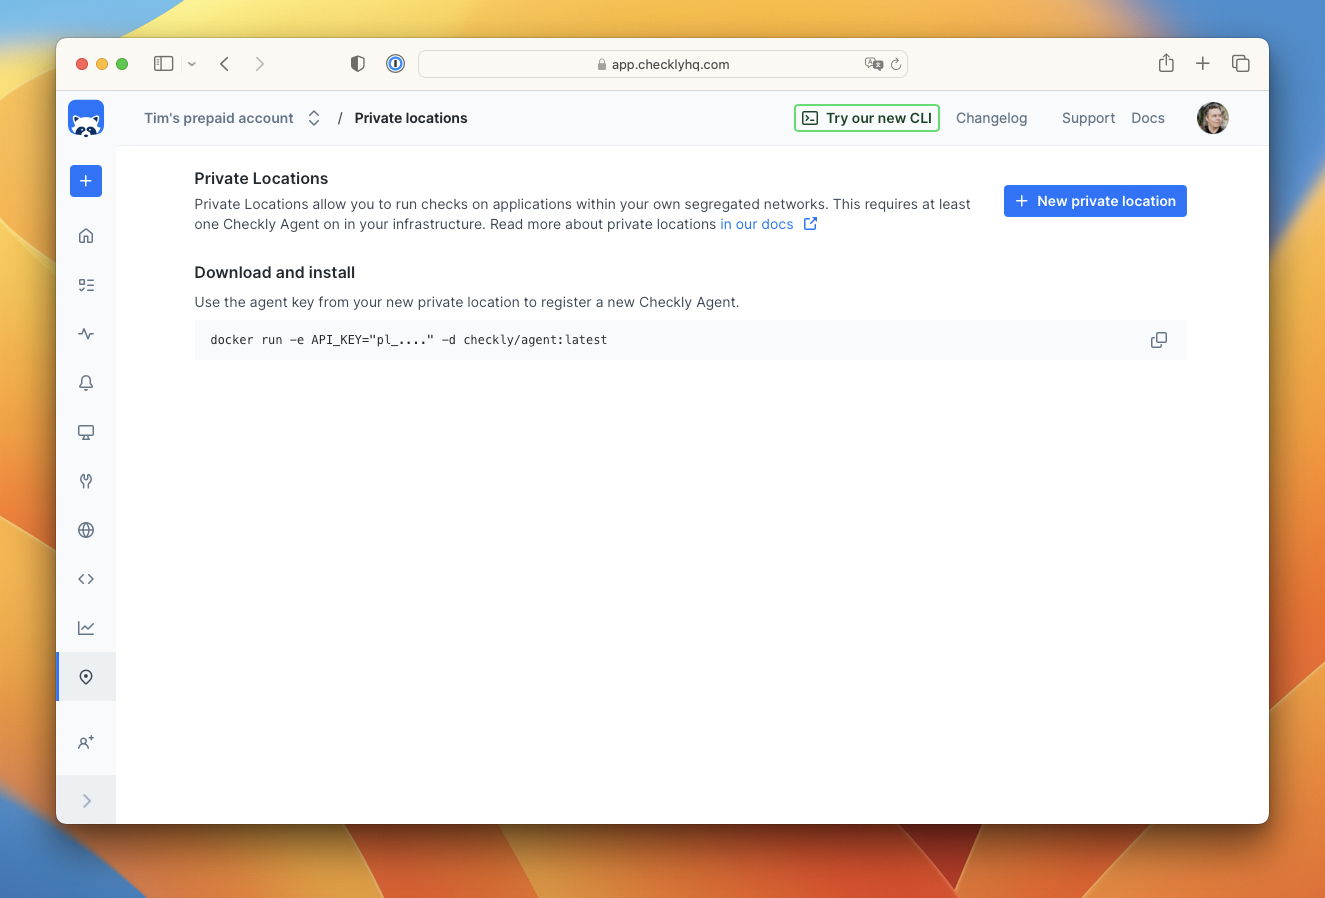
Navigate to the Private Locations page and click “New private location”
-
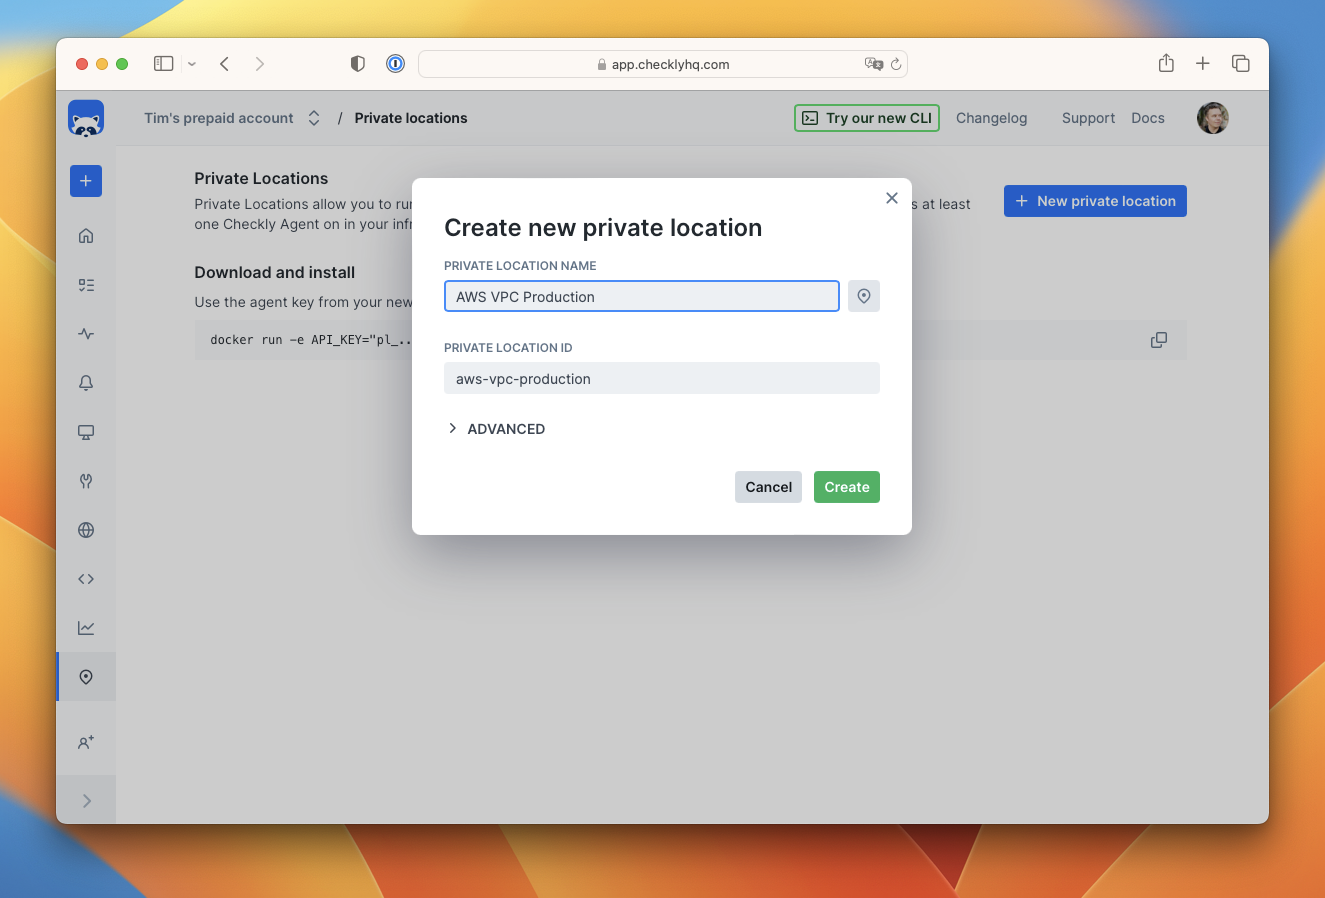
Provide a name and icon for the new private location. The ID is automatically generated ID for API access. Click create.
-
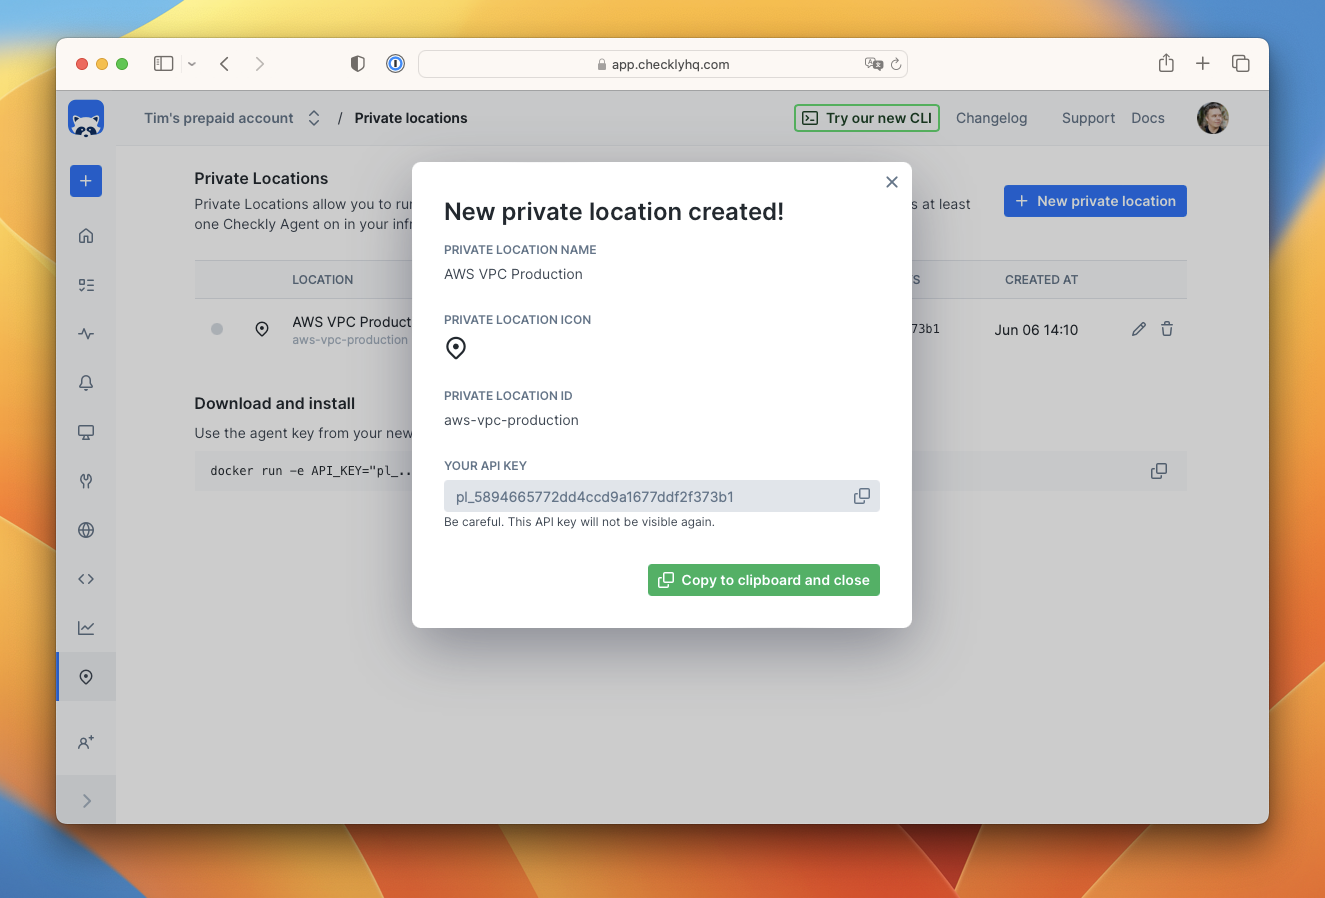
You will receive an API key for the new location. Copy this key and keep it safe as you will need it to add agents to the location, and you won’t be able to see it again.
-
Start the Checkly agent by running the following command in a terminal, making sure to replace the
API_KEYwith the key you just received. For more configuration options, check the detailed instructions in the installing Checkly agent guide.
docker run -e API_KEY="pl_...." -d checkly/agent:latest`
-
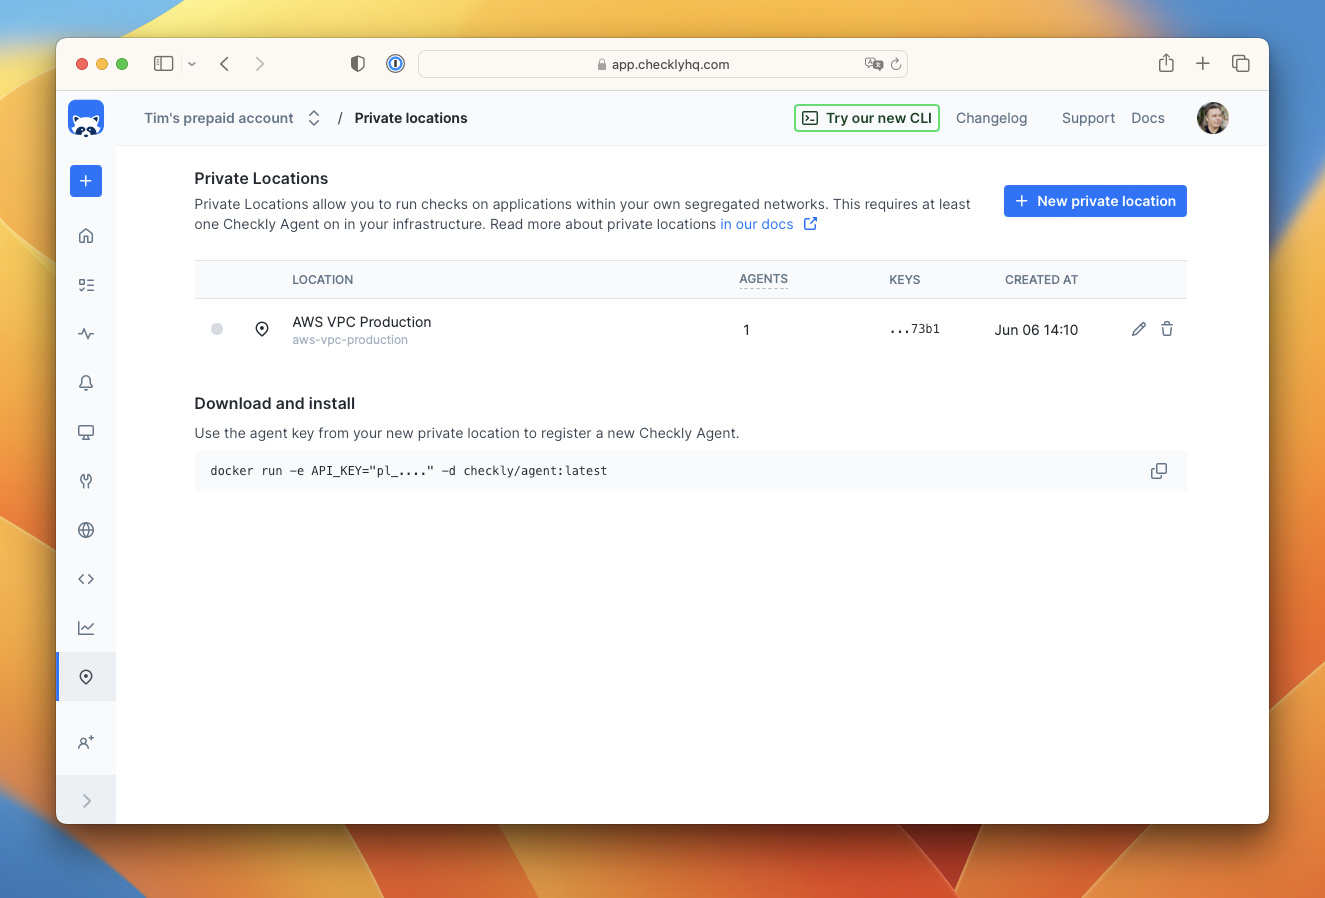
Refresh the Private Locations page in the Checkly app and you will see a count of the number of running agents.
-
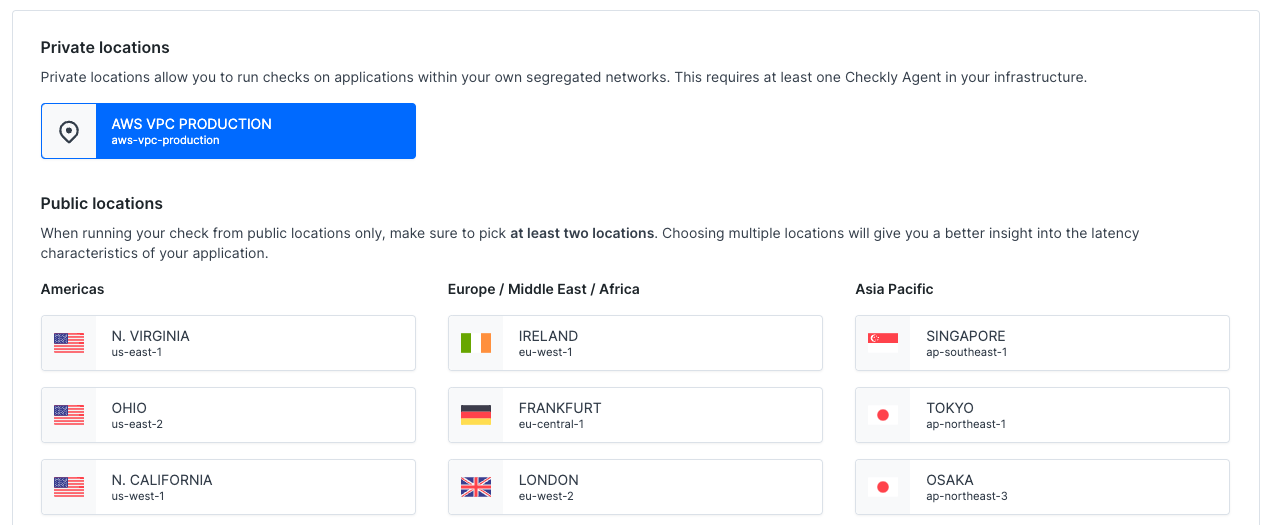
Create a new API or Browser check as you normally would in Checkly. You will now see your new private location in the list of available locations. Select it and deselect any other locations.
Using Private Locations with the CLI
You can configure any check to run on a Private Location by adding the slug name to the privateLocations array. For example
// api.check.ts

import { ApiCheck } from 'checkly/constructs'

new ApiCheck('hello-api-1', {
  name: 'Hello API',
  activated: true,
  maxResponseTime: 10000,
  degradedResponseTime: 5000,
  privateLocations: ['blairs-private-network'],
  request: {
    method: 'GET',
    url: ' https://checklyhq.com.org/',
  }
})
Unavailable private locations
If a private location has had no Checkly agents connected for more than 10 minutes, it will be flagged as unavailable. Checkly will email account owners and admins that the location has become unavailable.
While a location is unavailable, no checks will be scheduled to run on it. When a location becomes available, check scheduling and execution will resume automatically.
![]() You can contribute to this documentation by editing this page on Github
You can contribute to this documentation by editing this page on Github